Hello guys, this article is about how to add ng-bootstrapped modals within your components in Angular application. Going through this article, a very beginner can learn how to add and use different bootstrapped gadgets and other stuffs with your Angular application.
I have already created a very simple project but not yet bootstrapped. I just need to add a popup message box when clicking on the button on the page.
Below is how my application looks right now and I have used only app.component.ts and app.component.html files for this.
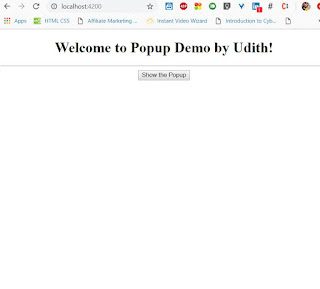 |
| Initial Web Page |
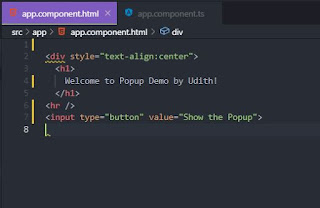 |
| app.component.html |
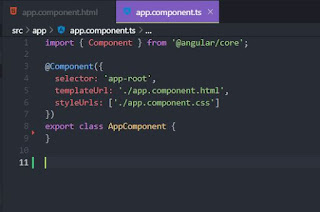 |
| app.component.ts |
Now let's begin to add the requirements to continue.
Step 1
- Go to the root project folder of your project.
- Install ng-bootstrap to your project by running
- npm install --save @ng-bootstrap/ng-bootstrap
- Go to app.module.ts file and import the Ngbmodule inside import array.
import {NgbModule} from '@ng-bootstrap/ng-bootstrap';
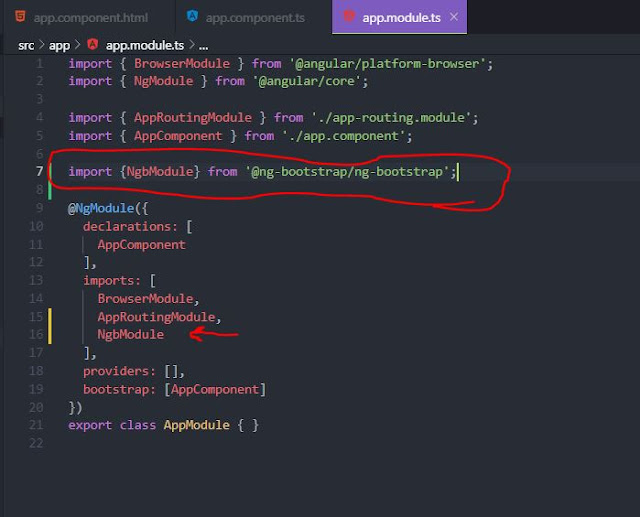 |
| app.module.ts |
- Go to index.html and copy the bootstrap CDN code snippent from bootstrap site , within the scope of <head></head> tags.
- ( For now, <link rel="stylesheet" href="https://stackpath.bootstrapcdn.com/bootstrap/4.3.1/css/bootstrap.min.css" integrity="sha384-ggOyR0iXCbMQv3Xipma34MD+dH/1fQ784/j6cY/iJTQUOhcWr7x9JvoRxT2MZw1T" crossorigin="anonymous"> )
Step 2
- Go to ng-bootstrap site and find the bootstrap code section for Modal.(Modal-ng-bootstrap)
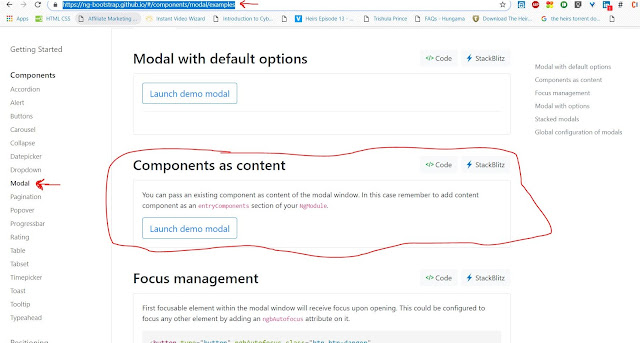 |
| Section for Modals |
- Within the section I have circled in , when you click the button with name "</>Code", you can find a code file with the name modal-component.ts with the following code snippet.
- Here , in the above code, you can find two classes as NgbdModalContent (squared in red colour) and NgbdModalComponent (squared in purple colour).
- Now it's time to copy code from this snippet and paste it into your app.component.ts file.
- First, import the modules shown in Section 1 in the above image into your app.component.ts file.
- Secondly, Copy the whole code in section two and paste it at the very end of the app.component.ts file.
- Thirdly, inject the service into the constructor of your AppComponent class in app.component.ts file ,as shown in section 3 .
- And, Lastly, Copy the method "copy()" shown in the section 4 as a netive method of the AppComponent class.
- This method can be used in an (click) event within the button in html file now.
Step 3
- Enter NgbdModalContent class in declarations array as well as an entryComponent in app.module.ts file.
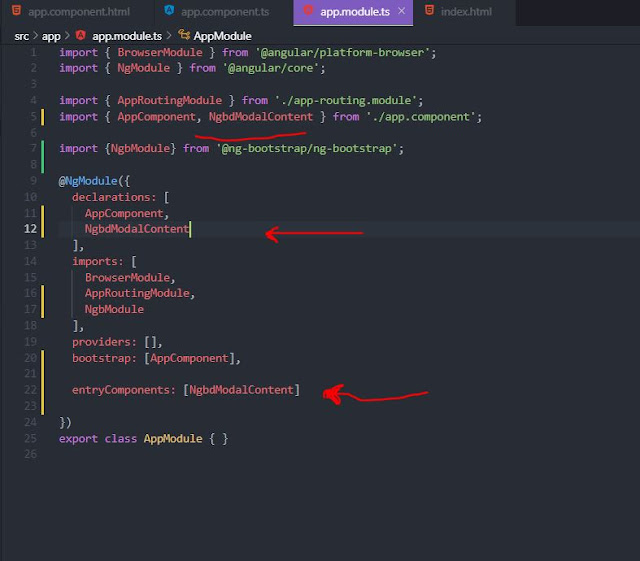 |
| app.module.ts |
Finally
This is my app.component.ts file and html file .
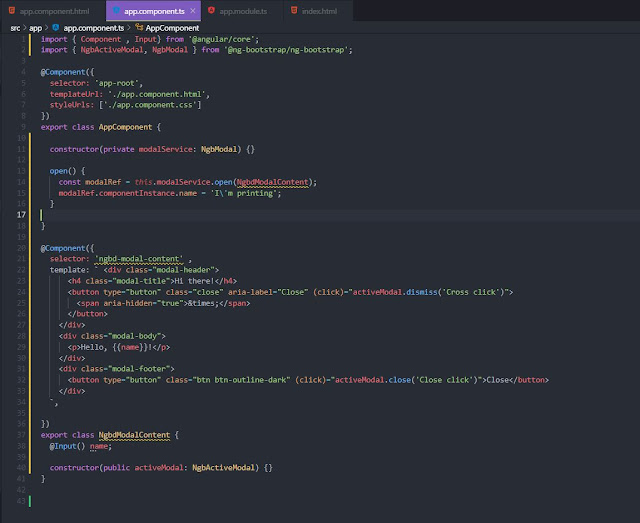 |
| app.component.ts |
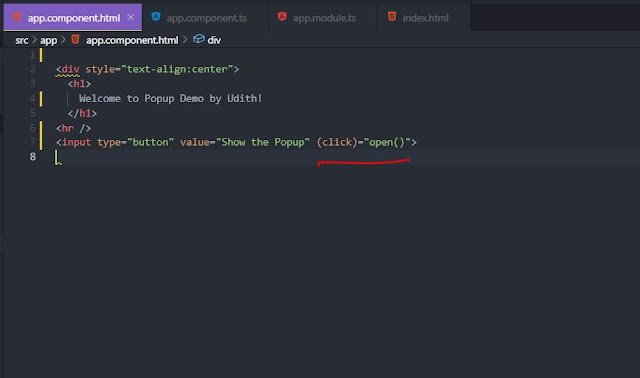 |
| app.component.html |
Final View when clicked on the button on the page,
Enjoy bootstrap!!!


